
Welcome to my Vulnerability Management & Remediation. This lab will simulate a real-life environment and a hands-on approach by leveraging Nessus Essentials, a powerful vulnerability scanner, to do a vulnerability assessment on a Windows 10 device. Through this real-world example, we’ll delve into the process of vulnerability scanning, identification, prioritization, and remediation. By the end of this journey, you’ll gain valuable insights into the tools, techniques, and best practices involved in effectively managing and mitigating security vulnerabilities within your organization.
A Windows 10 machine is running an outdated version of .NET software (version 6.0.16). For this lab, I will show you how to identify and remediate this vulnerability. This scenario presents a common security risk, as outdated software versions often contain known vulnerabilities that can be exploited by attackers to compromise system integrity and steal sensitive information.
For this lab, I will first do a non-credentialed scan and compare it with a credentialed scan. I will be using the command prompt and PowerShell. Powershell is a task automation and configuration management program from Microsoft, consisting of a command-line shell and the associated scripting language. In vulnerability management, it is used to automate the remediation of all sorts of vulnerabilities. In this lab, we are going to use Powershell to write a script to remediate vulnerabilities.
What You Need
I am going to use 2 virtual machines for this Lab. I am going to use VirtualBox to deploy these machines.
Windows 10 – Vulnerable Machine
Windows 11 – Scanning machine
Nessus Essentials – Vulnerability Scanner
You can use either Windows 10 or 11 it does not matter I used a mix of both.
To learn how to download a Windows 10 machine on VirtualBox click here.
Downloading Nessus
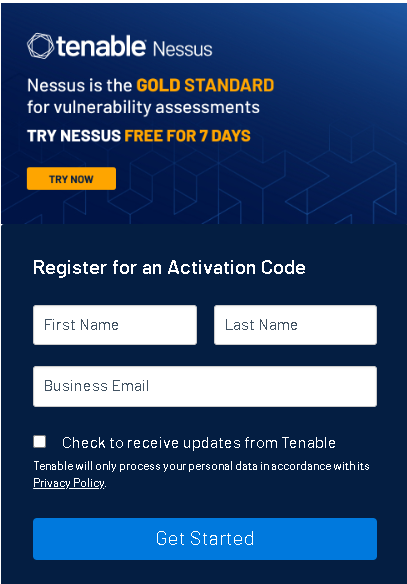
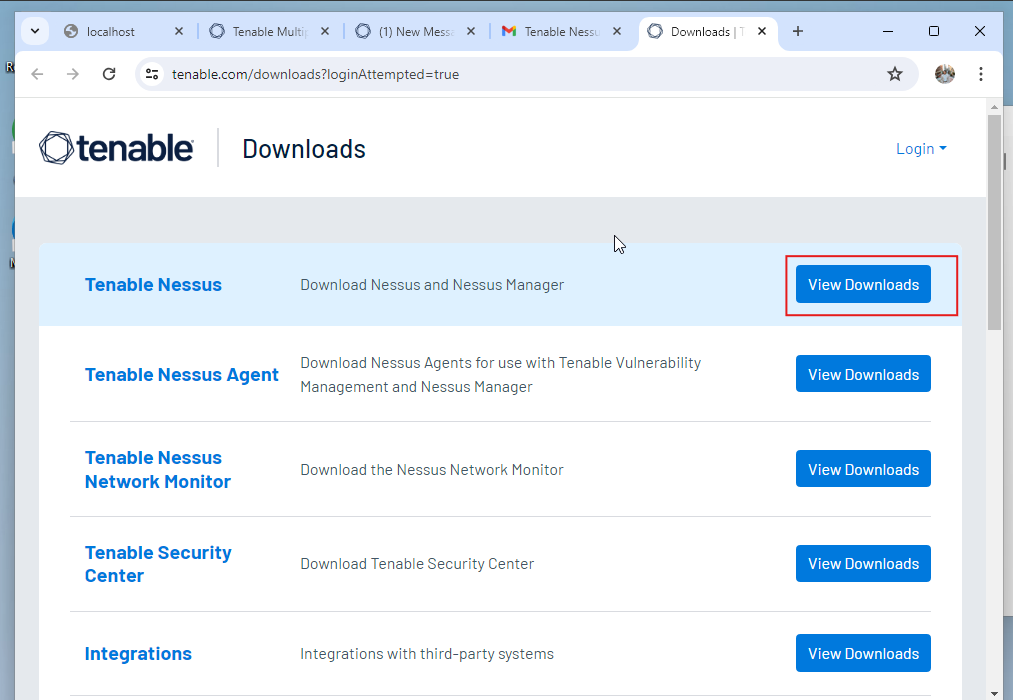
The first thing you need to do is download Nessus Essentials on one of the virtual machines from the Tenable website here and fill in your information to get an activation code.
Choose Tenable Nessus.

Sign in.
Once you have downloaded Nessus, you want to see if you can reach or communicate with the device you are going to be scanning so find out the IP Address of the device by going to the command prompt and typing in “ipconfig”

Once you do that, go to the Windows device that you are going to be scanning with and ping IP Address of the computer to see if you can reach it.

Now that we know that they are able to talk to each other let’s start scanning.
Vulnerability Scanning (Non-Credentialed Scan)
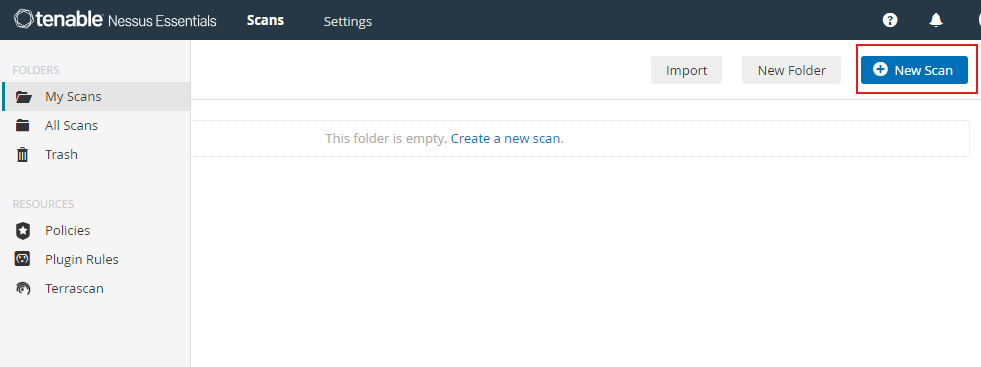
Once you are logged in to Nessus it will take you to this dashboard.
Click on New Scan
Then click on Basic Network Scan
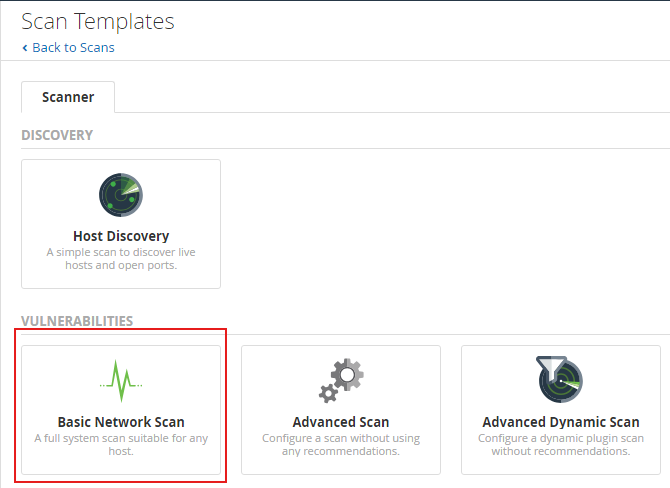
Create the name of the scan and type in the IP address of the machine that you are scanning. This is a non-credentialed scan. Later in the Lab, I will do a credentialed scan. Now click Save.

Now you have saved it under My Scans.

Click the Play Button to launch the scan.

Once it’s finished it will show this checkmark.

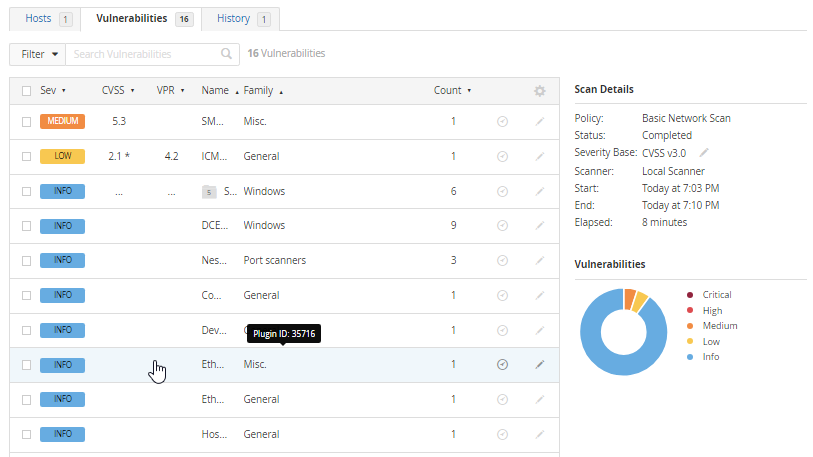
After the scan finished this is what we got from it.
As you can see it detected 16 vulnerabilities from this computer with the highest severity being Medium and one Low.
Credential Scan
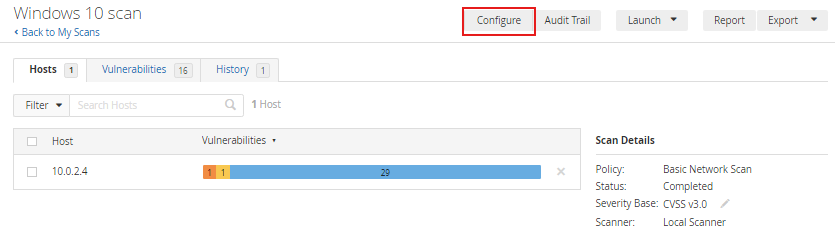
In order to get more information about the computer and the vulnerabilities that it has, let’s do a credentialed scan.
Click on Configure.
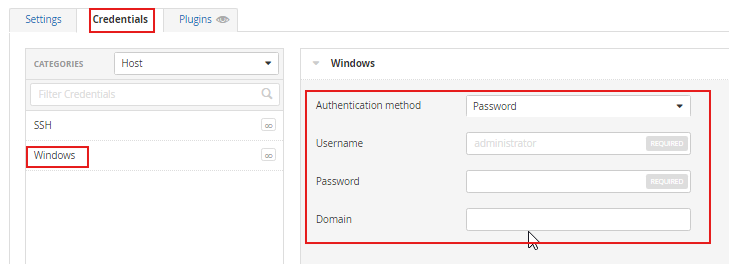
Now go to Credentials, then Windows, and add the login credentials of the machine.
Then scroll down and click Save.
Now go back to your scans and run it one more time but this time it will be a credentialed scan.
After scanning this is the result I got back.
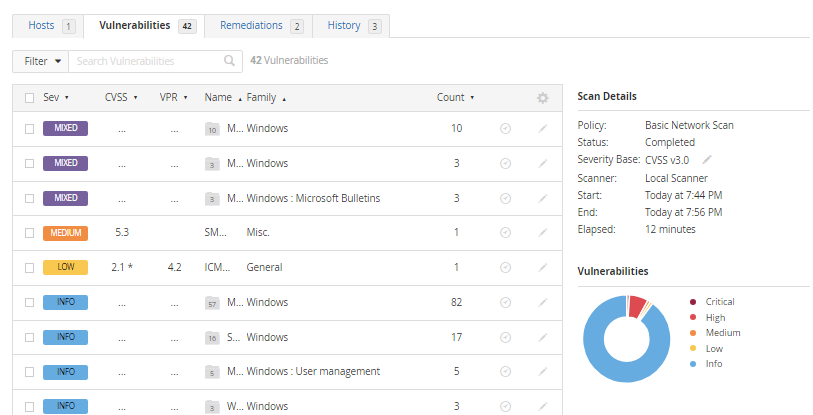
As you can see now I have 42 vulnerbailities compared to 16 from the non-credentialed scan. You can see here that there are some critical and high labeled vulnerabilities if you look at the pie chart. It also says mixed which means there is a combination of severities.
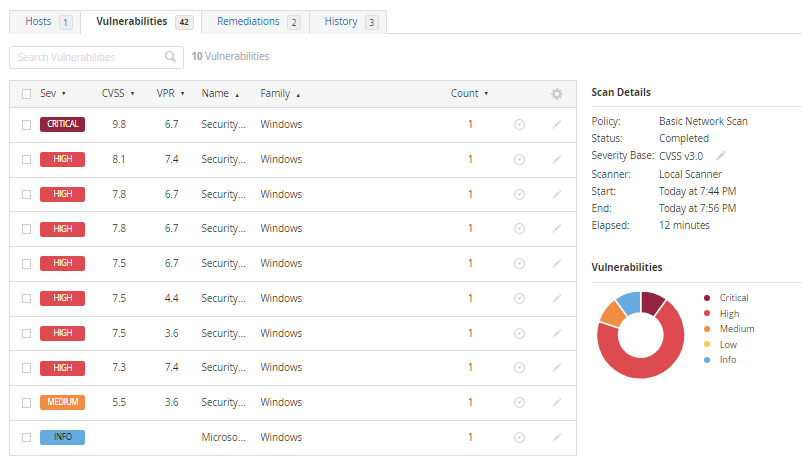
Let’s click on the top one, and look at all the critical and high-impact vulnerabilities that it has.
As you can see, there is a critical vulnerability and multiple high ones. Let’s click on the one that is labeled critical.
After clicking on the critical vulnerability it shows that there is an outdated .NET software installed on this machine. It gives a thorough description of the vulnerabilities and how to mitigate them.

Remediation
My goal to remediate this vulnerability is to uninstall the program using Powershell by going inside the registry editor to find the registry key and use the UninstallString to uninstall the software.
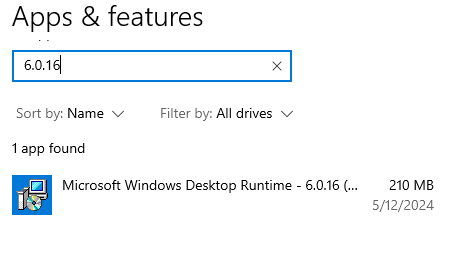
Here I see that it is clearly on the machine.
It is also found in the registry editor.
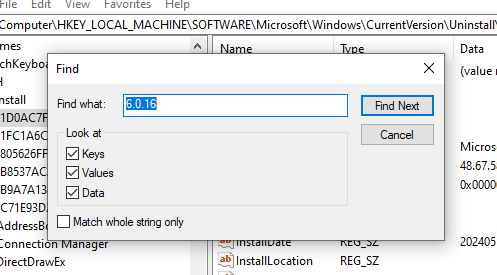
First I want to know how many registry keys are associated with the 6.0.16 version. By typing in this query in PowerShell, it shows the display name of all the registry keys associated with the 6.0.16 version. It finds 4 Registry Keys.
reg query "HKLM\SOFTWARE\Microsoft\Windows\CurrentVersion\Uninstall" /f "6.0.16" /s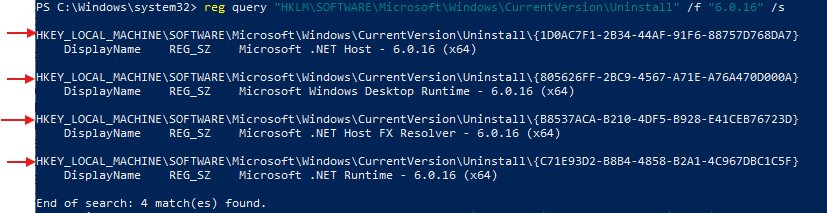
We want it to display the UninstallString so we can uninstall, this query will find the folder.
reg query "HKLM\SOFTWARE\WOW6432Node\Microsoft\Windows\CurrentVersion\Uninstall" /f "6.0.16" /s
We have the option to uninstall with the UninstallString or the QuietUninstallString. Both of them will work. I am going to use the UninstallString.
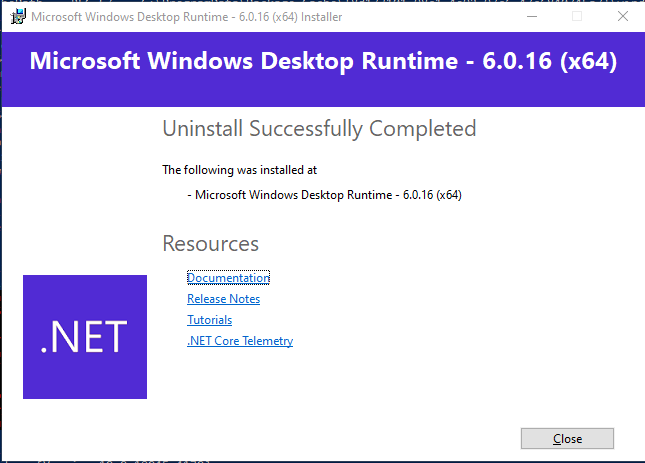
Switch to cmd, which is the command prompt. Then run the UninstallString command

I get this pop-up after running the command

Successfully uninstalled.
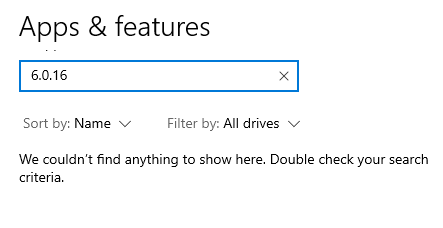
The software is now gone from the machine.
Now this part is crucial. To verify that the vulnerability has been remediated, we have to scan the device again to see if it still appears as a vulnerability.
After the scan, we can see that the vulnerability is gone! We have successfully verified that the vulnerability has been remediated.

Conclusion
In conclusion, vulnerability management and remediation are integral components of any comprehensive cybersecurity strategy. By proactively identifying and addressing security vulnerabilities, organizations can significantly reduce the risk of data breaches, financial losses, and reputational damage.
In this Lab, we used Powershell and the command prompt to uninstall the software and ultimately remediate the vulnerability. We can also go to “add and remove programs” on Windows and uninstall the software that way but in a real environment with hundreds of endpoints, you would use maybe an EDR solution like SentinelOne to remote shell into the device and remidate it with PowerShell by writing a script and automate the process.
Through our exploration of vulnerability scanning with Nessus Essentials and the assessment of an outdated .NET software version on a Windows 10 device, we’ve witnessed firsthand the power of automated tools in uncovering potential security risks. However, scanning is just the first step. The true value lies in the effective prioritization and remediation of identified vulnerabilities to mitigate risk and enhance overall security posture.